

Set Up Organization Prompts in the Microsoft 365 Admin Center

The most common complaint about Copilot, once people have had it a while, is not that it doesn’t work. It is that nobody knows what to ask it.

You can now do something about that centrally. Organization prompts let you write prompts and publish them to everyone in the tenant, and they get suggested to people as they type. In this post I am going to show you how to set them up.

What you need

  • The AI Administrator or Search Editor role
  • Nothing else – no licence change, and the feature is on by default

Note the roles. This is deliberately not Global Admin territory, which means you can hand it to the people who actually understand the work – a communications lead or a Copilot champion can own this without anyone giving them the keys to the tenant.

Creating one

In the Microsoft 365 admin center, expand Copilot and select Prompts. On your first visit the list is empty – it just says No prompts have been added.

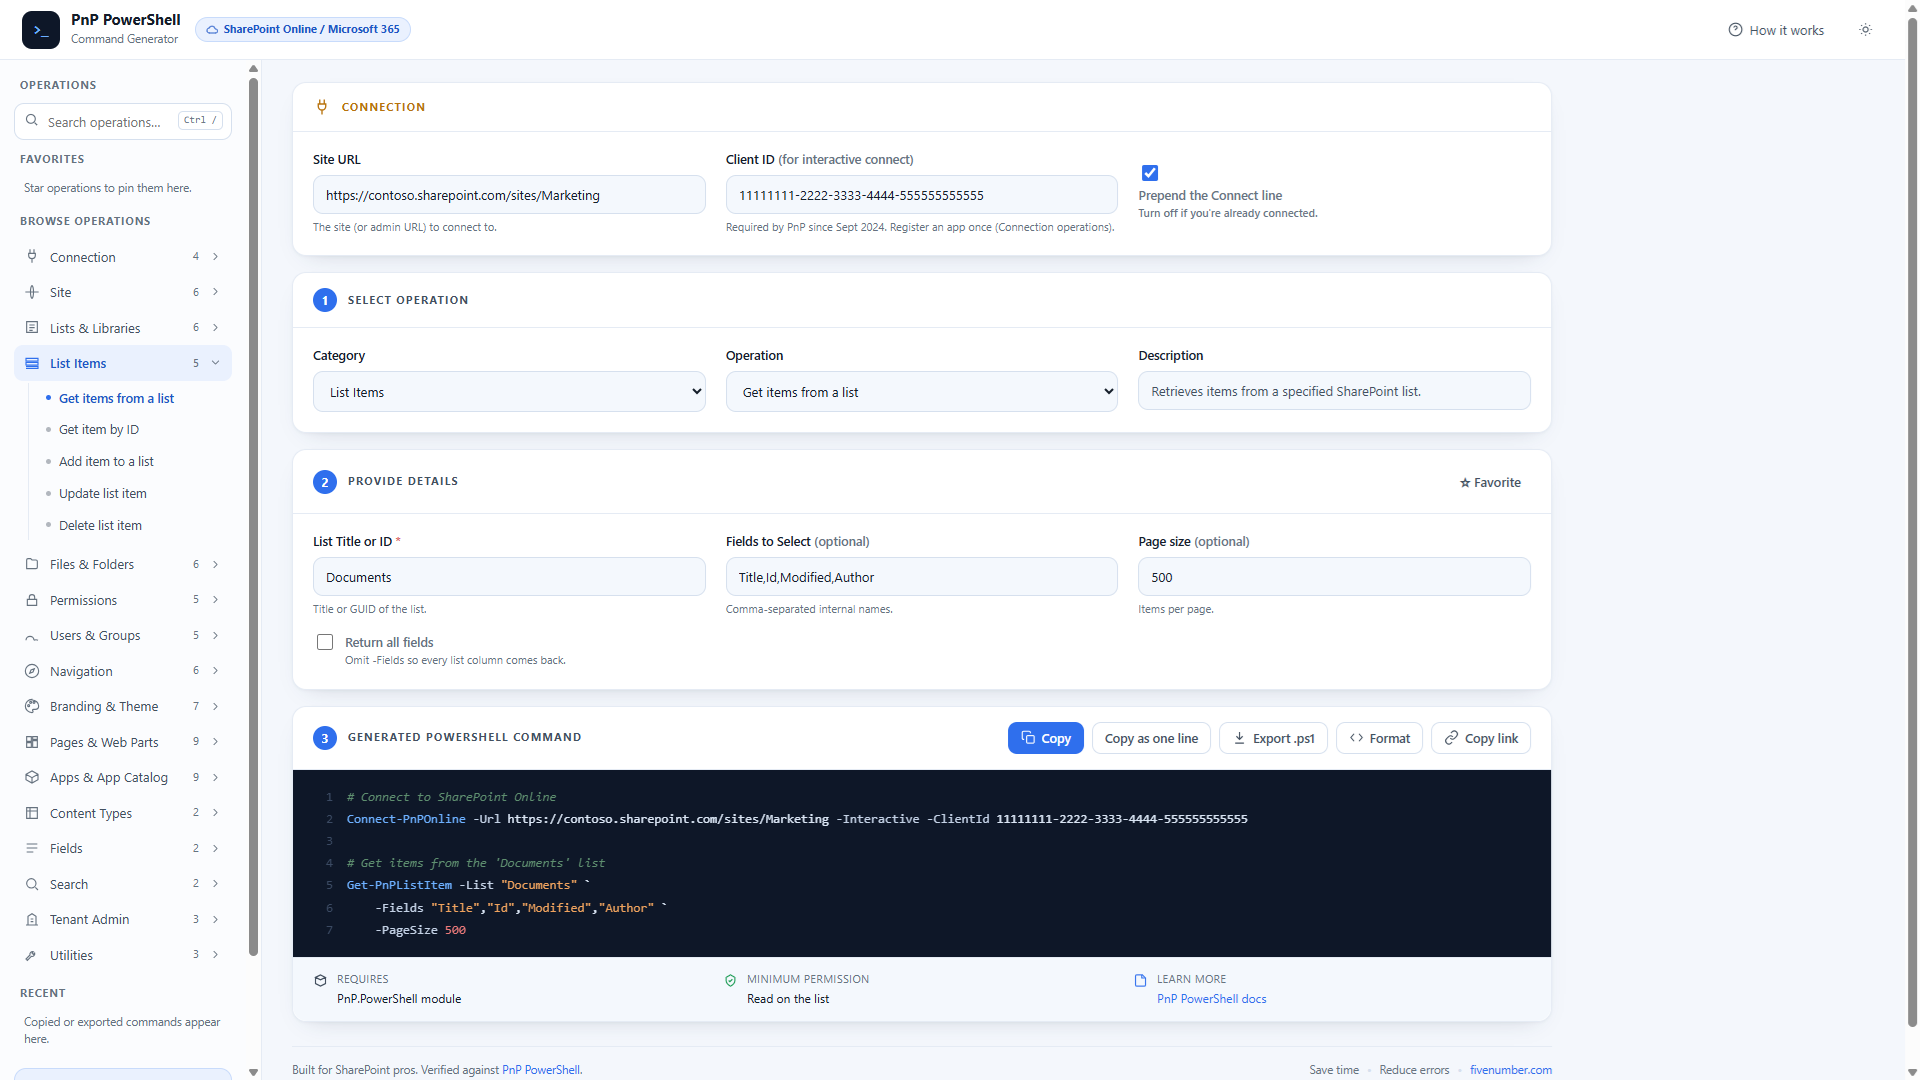
Select Create prompt and a panel opens on the right. The fields are:

  • Title – what people see in the prompt gallery
  • Description – when and how to use it
  • Display Prompt – the display text
  • Prompt – the actual prompt, up to 8,000 characters
  • Supported apps – Copilot web, Copilot work
  • DepartmentTask type and Language

Then Publish.

Four of those are required – Title, Display Prompt, Prompt and Supported apps. Fill in Department and Task type anyway, even though you don’t have to. They are how people filter the gallery once there is more than a handful in there, and going back to add them later is a dull afternoon.

Microsoft’s documentation says to allow around three hours before a published prompt shows up for users. In my tenant they were there within minutes, so don’t panic if you go looking straight away – but if yours aren’t showing, give it the three hours before you start troubleshooting.

Where users see them

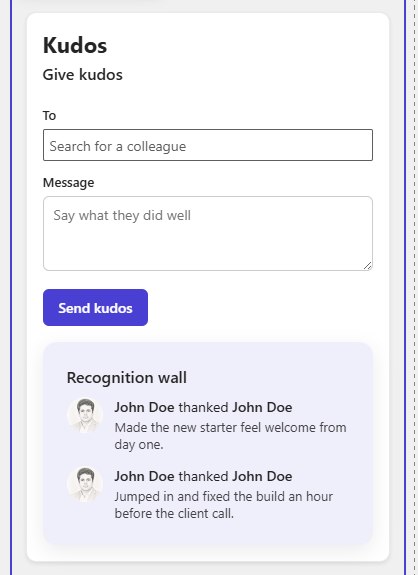
Open Copilot Chat and look at the suggestion chips under the message box – Summarize ContentDraft Something and so on. Those are Microsoft’s built-in ones, and your prompts are not among them.

Click the  at the end of that row. That opens Prompt Lab, and your prompts are in there under Suggested, each one labelled Promoted by your organization.

Worth knowing, because “I published them and users can’t see them” is going to be the first support question you get. They are not missing. They are one click further in than people expect.

Two things I did not expect, both worth knowing:

They show up for users on Copilot Chat (Basic) too. I assumed the organization prompts would need a full Microsoft 365 Copilot licence to appear. They don’t – they were listed in Prompt Lab on an unlicensed account.

Prompt Lab has Topic and Department filters at the top. That is why the Department field is worth filling in even though it is optional – it is doing real work here. Leave it blank on twenty prompts and you have given your users a flat, unfilterable list.

Import, export, and the pin limit

If you already have prompts written down – and most organisations that have run any Copilot training do – there is an Import prompts button on the toolbar, so you don’t have to type them in one at a time. Export all prompts sits next to it, worth running occasionally as a backup.

The limits are 100 prompts per file on import, and 1,000 published prompts per tenant.

But the number that will actually shape what you do is on the right of the toolbar, and it is easy to miss – Pinned 0/4.

You can pin four. That’s it. Everything else sits in the gallery for people who go looking, and most people won’t go looking.

So the real question is not “what should we publish”, it is “which four”.

What actually makes a good one

The setup takes ten minutes. Choosing what to publish is the real work, and this is where these get wasted.

Be specific to your organisation. “Summarise this document” is not worth publishing – Copilot suggests that sort of thing on its own and everyone worked it out in week one. “Draft a project status update in our standard format, covering progress, risks and next steps” is worth publishing, because it encodes how you do it.

Aim at repeated work. The weekly report, the standard client email, the meeting summary that always needs the same four sections. Anything a lot of people do slightly differently every time.

Publish few, and well. Twenty good prompts that people use beat two hundred that clutter the suggestions and get ignored. You can add more later, and it is much easier to add than to take away.

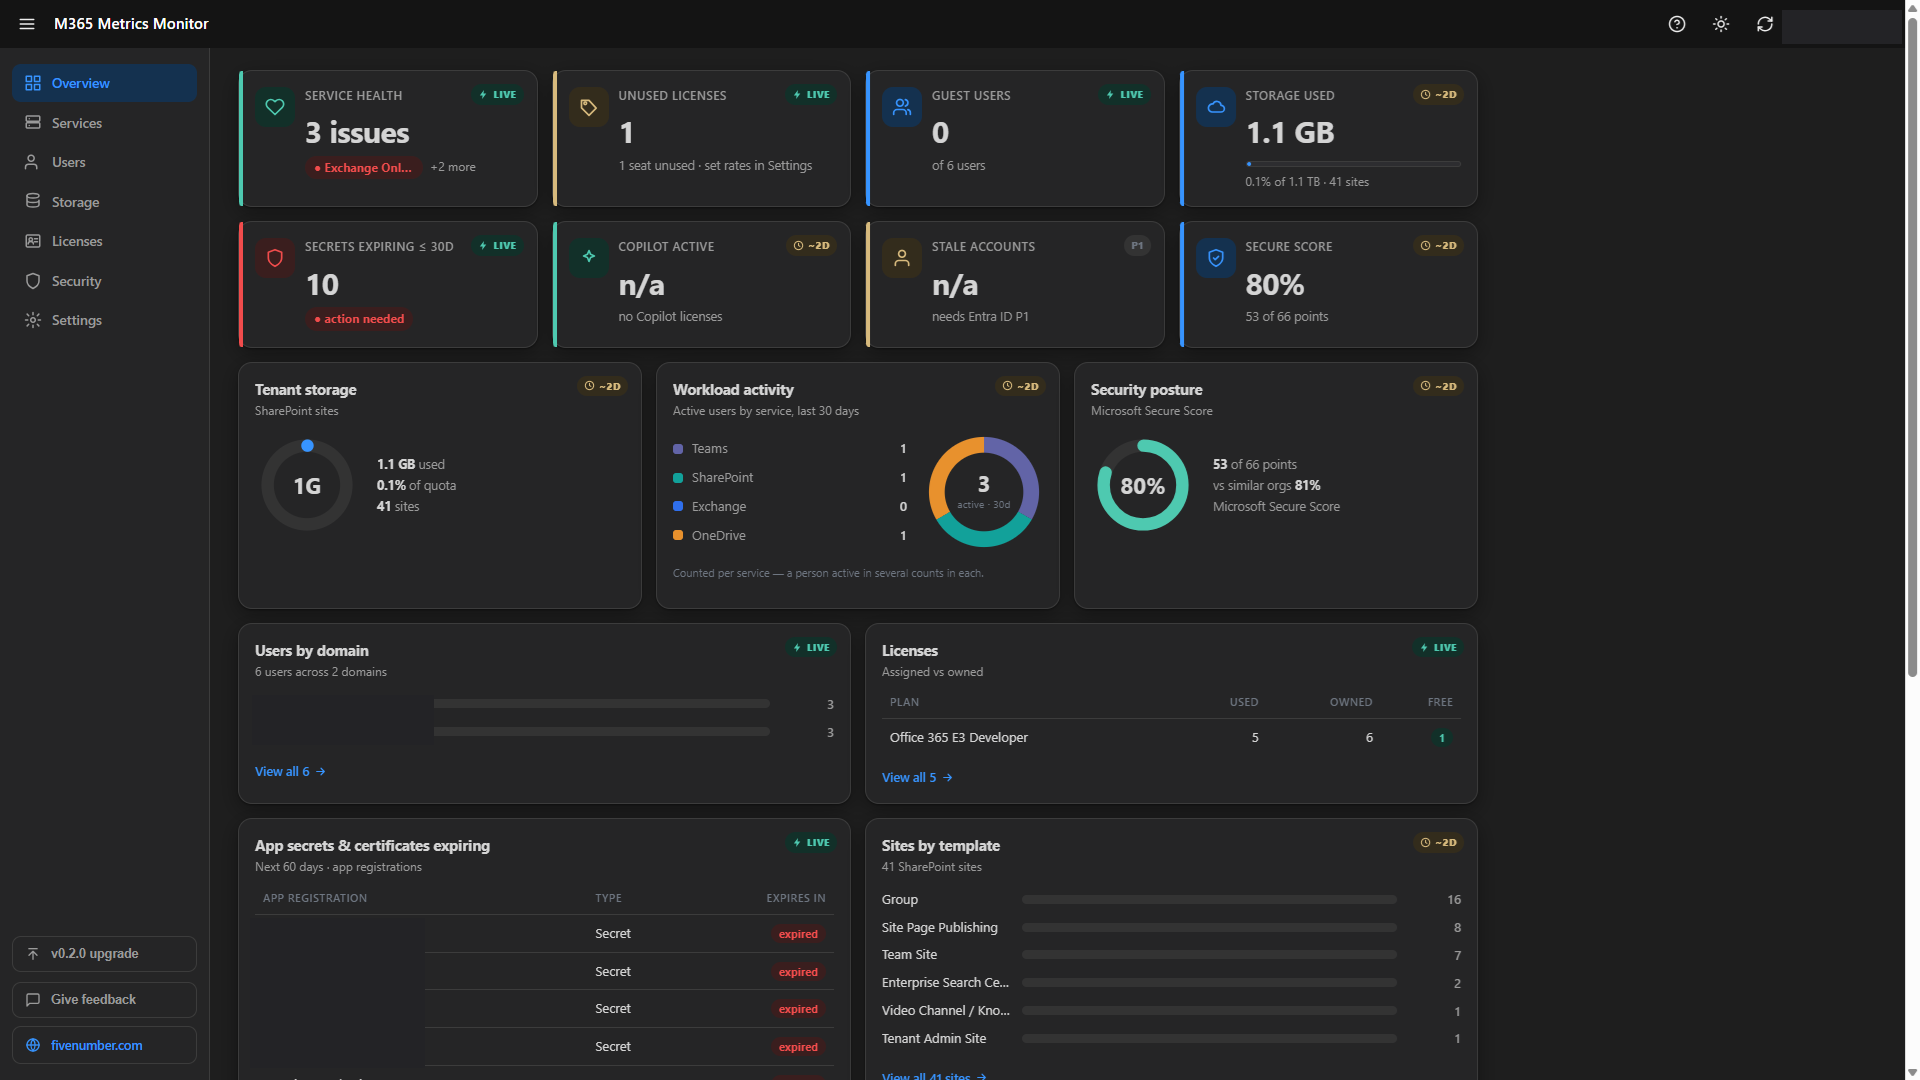
Watch what gets used. There is an Analytics tab right next to Published on the same page, and it is more useful than I expected.

It lists every prompt with Submissions and Active users against it, filtered by a date range – Last 7 days by default. There is also Export prompts with analytics, so you can pull the lot into Excel.

On day one it is all dashes, which is what you would expect. Come back in a month and it tells you something worth acting on. Two prompts with real numbers and four that nobody has touched is a normal result, and the answer is to delete the four – a prompt list nobody prunes stops being trustworthy, and people stop opening it.

The distinction between the two columns is the useful bit. High submissions with low active users means one person leaning on it heavily. Low submissions across many active users means people tried it once and didn’t come back – which usually means the prompt is fine but the content behind it isn’t.

Copy SharePoint online webpart settings from one webpart to other

Here is the simple PowerShell script which does the magic to copy the webpart configurations from one webpart to other.

All you have to do is

  • Identify the source and target webpart. Here in below script we have two different pages source.aspx and target.aspx
  • In the source.aspx OOTB hero webpart added on the page.
  • On the target.aspx another OOTB hero webpart also added on the page
  • The script copies the setting of source.aspx hero webpart to target.aspx hero webpart
  • Let’s assume if you change any image on the source.aspx hero webpart and apply the same settings on the target.aspx hero webpart. This script is much useful when you run.
  • The important thing is to note is to convert the retrieved json format to object here is the line $convertedJson = ConvertFrom-Json $sourceWebpartData this is already included in the below script. This is important because when we retrieve the webpart properties json. The format is not json aligned. So we are converting it to json object.
#################################################################################################
#Set Webpart Properties using PnP
#################################################################################################
Connect-PnPOnline -url https://fivenumber.sharepoint.com/sites/spdev/ -UseWebLogin

$sourcePageName="source.aspx"
$targetpageName1="target.aspx"

$sourceWebpartTitle="Hero" # Your webpart name

$sourcePageInstance= Get-PnPClientSidePage -Identity $sourcePageName
$sourceWebpartInstance = $sourcePageInstance.Controls | ?{$_.Title -eq $sourceWebpartTitle}
$sourceWebpartData = $sourceWebpartInstance.PropertiesJson | ConvertTo-Json

#Write-Host($sourceWebpartData)
$convertedJson = ConvertFrom-Json $sourceWebpartData

Set-PnPPageWebPart -Page $targetpageName1 -Identity <your-target-webpart-id-goes here> -PropertiesJson $convertedJson

Server-side activities have been updated. You need to restart SharePoint Designer to use the updated version of activities.

If you come across error message Server-side activities have been updated. You need to restart SharePoint Designer to use the updated version of activities. while creating SharePoint workflow

Server-side activities have been updated. You need to restart SharePoint Designer to use the updated version of activities.

Server-side activities have been updated. You need to restart SharePoint Designer to use the updated version of activities.


You need to copy the file Microsoft.SharePoint.WorkflowServices.Activities.Proxy.dll to the location %USERPROFILE%\AppData\Local\Microsoft\WebsiteCache\<site-name>\<version-number>

Copy file to location

Copy file to location


Restart SharePoint designer, you should be able to create workflow without any problem.

Add Background Header To SharePoint Online Site

In this post, I am going to show you how to add header image as background to SharePoint online site, this will be very simple all we need is a image, and CSS class.

The beauty of the approach what we follow now is… we neither touch existing master page nor existing CSS

We will implement this by using an  alternate CSS approach So, let’s work out

I have two files, an image named as header.png and a custom CSS named as style.css this custom CSS has a single class referring the image as background.

Header image

Header image

Style.css

[sourcecode language=”css”]
#s4-titlerow
{
height: 176px;
background-image:url(‘/sites/Demo/Style%20Library/images/header.png’);
}
[/sourcecode]

Let’s upload the header.png under style library > images folder

Upload header image to style library > images folder

Upload header image to style library > images folder

Then after, upload the style.css file to style library > style folder (if you don’t see style by default, create one)

Upload style.css file to style library > style folder

Upload style.css file to style library > style folder

Now, the final step is to set the alternate css, grab the uploaded style.css link, the link will be like https://<your-sharepoint-online-domain>/sites/Demo/Style Library/style/style.css
Once you have the link, got to site gear > Site settings, under look and feel section, click on Master page
scroll down to the bottom of the page, expand Alternate CSS, the select the radio button to Specify a CSS file to be used by this site and all sites that inherit from it: provide the style.css location, then click OK

Updated Alternate CSS URL

Updated Alternate CSS URL

After you complete the all the steps, you will be able to see the header as below 🙂

SharePoint online custom header

SharePoint online custom header

Insert items into SharePoint custom list using Angular

In this example, I am going to show you how to insert items into SharePoint custom list using AngularJs

I want to make this post very short and simple, the code snippet you will see in the article will be very minimal, only related to insert items into custom list using Angular.

In one of my previous article I had show how to insert items into custom list using server object model, you may visit the link if you need the code snippet using server object model.

Primarily, I have a simple custom list naming Employees with columns…

Title [Single line of text]

FirstName [Single line of text]

LastName [Single line of text]

Designation [Single line of text]

Employee List

Employee List

Then I added the script files in js folder of Style library (you may create one js folder inside Style Library)

Style Library - Script files

Style Library – Script files

You may download the Jquery and AngularJs directly from the website (I’m using Jquery 3.2.1 and Angular 1.5.6)

Also, you can see the addcontroller.js and AddItemstoEmployeeList.html file in the above style library. The code snippet for the files is below

addcontroller.js

[sourcecode language=”javascript”]

var myApp = angular
.module("SharePointApp", [])

.controller("addcontroller", function ($scope, $http) {
var restUrl = _spPageContextInfo.webAbsoluteUrl + "/_api/web/lists/getByTitle(‘Employees’)/items";
var field = $scope;
field.insertEmployee = function () {
return $http({
headers: { "Accept": "application/json; odata=verbose", "X-RequestDigest": jQuery("#__REQUESTDIGEST").val() },
method: "POST",
url: restUrl,
data: {
‘Title’:field.Title,
‘FirstName’: field.FirstName,
‘LastName’:field.LastName,
‘Designation’: field.Designation
}
})
.then(insertItem)
.catch(function (message) {
console.log("insertEmployee() error: " + message);
});
function insertItem(data, status, headers, config) {
alert("New Employee Record Inserted!");
return data.data.d;
}
}
});
[/sourcecode]

AddItemstoEmployeeList.html

[sourcecode language=”html”]
<!DOCTYPE html>
<html lang="en" xmlns="http://www.w3.org/1999/xhtml">
<head>
<meta charset="utf-8" />
<title></title>
<script type="text/javascript" src="/Style%20Library/js/jquery-3.2.1.min.js"></script>
<script type="text/javascript" src="/Style%20Library/js/angular.min.js"></script>
<script type="text/javascript" src="/Style%20Library/js/addcontroller.js"></script>
<style>
.style1{
width:200px;
}
</style>
</head>
<body ng-app="SharePointApp" ng-controller="addcontroller">
<h3><strong>Add Items To Employee List</strong></h3>

<Table >
<tr>
<td class="style1">Title: </td>
<td>
<input type="text" id="title" ng-model="Title" />
</td>
</tr>
<tr>
<td class="style1">First Name: </td>
<td> <input type="text" id="firstName" ng-model="FirstName" /></td>
</tr>
<tr>
<td class="style1">Last Name: </td>
<td> <input type="text" id="lastName" ng-model="LastName" /></td>
</tr>
<tr>
<td class="style1">Designation: </td>
<td> <input type="text" id="designation" ng-model="Designation" /></td>
</tr>
<tr>
<td class="style1">&nbsp;</td>
<td><input type="button" id="btnInsertEmployee" value="Submit" ng-click="insertEmployee()" /></td>

</tr>
</table>
</div>
</body>
</html>
[/sourcecode]

Copy the code snippets controller.js and AddItemstoEmployeeList.html and upload both to style library, refer the html in a content editor webpart on SharePoint page. you will see the output as below

Insert into custom list using Angular

Insert into custom list using Angular

A Quick Look On Sharepoint 2010 Managed Client Object Model Programs

I have a practice of posting handy code snippets which takes less time to read, understand and save in mind with very little space of memory
Please look into few of my previous handy code snippet articles below: Continue reading…

SharePoint Document Counter Counts The Document Downloads

In this post I’m going to show you how to count the document events of SharePoint site, after going through this post you will learn how to count the document downloads, views, updates, deletion, restoration etc.

I remember this solution has been asked by few people on this blog. Continue reading…

Understanding SharePoint Delegate Control

In this article I’m going to explain about delegate control, before we jump start into the technical talk we will understand first what is the meaning of Delegates

As I believe most of us we know that in general delegates are also called as ambassadors, diplomats, representatives etc. Continue reading…

Most Common Custom WebParts Part 4 – Flash Media WebPart

In my previous post you can view the most commonly used custom webparts, Tree View WebPart Shows Sites and Sub-Sites, Menu WebPart Shows Sites and Sub-Sites in Fly-Out Mode, Windows Media Player WebPart Continue reading…

Most Common Custom WebParts Part 3 – Windows OR YouTube Media Player WebPart

In my previous post you can view the most commonly used custom webparts, Tree View WebPart Shows Sites and Sub-Sites and Menu WebPart Shows Sites and Sub-Sites in Fly-Out Mode

Now I got one more chance to continue the series of most commonly used custom webparts, so once again I come up with a simple Continue reading…