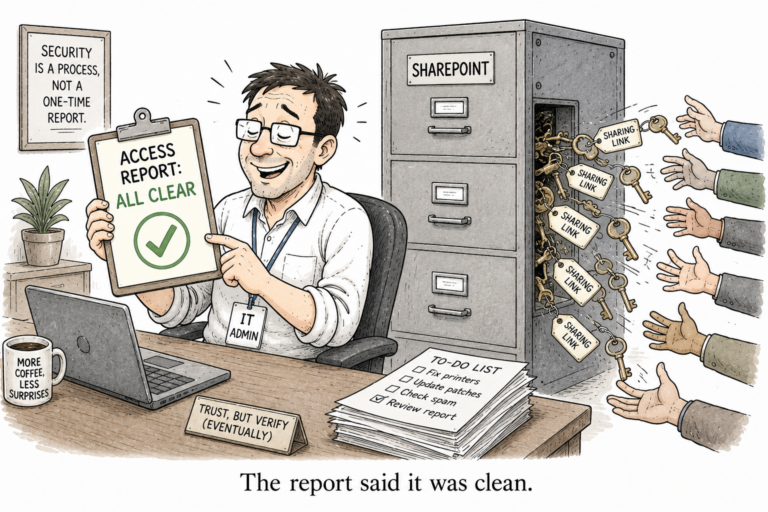
Someone in your tenant opens Copilot, asks it to pull together last quarter’s numbers, and it hands back a figure from a workbook they were never meant to open. The permission was sitting there the whole time. Nobody caught it because SharePoint has no single screen that answers the one question an admin actually asks: what can this person get to, and how did they get it?
I got tired of stitching that answer together by hand, so I built a small tool for it. It is called User Access Explorer, it is free, MIT-licensed, and it lives here: github.com/gvijaikumar9/UserAccessExplorer.
What it actually does
You pick a user. The tool walks the sites they can reach and shows every route that gets them in, one row per route. A route is the a direct grant, a SharePoint group, an Entra (Microsoft 365) group, an Everyone or Everyone except external users claim, or a sharing link.
The routes that matter get pushed to the top. The tool splits access into Granted (someone deliberately gave it) and Overshared (a claim or a link handed it out to more people than anyone intended). Overshared is Microsoft’s own word for it in the Copilot and SharePoint Advanced Management reports, so I kept it. That Overshared bucket is the whole point of the tool. It is the list you hand to whoever owns the site and say “explain this one”.
A couple of things I learned building it, because they trip up most home-grown permission scripts:
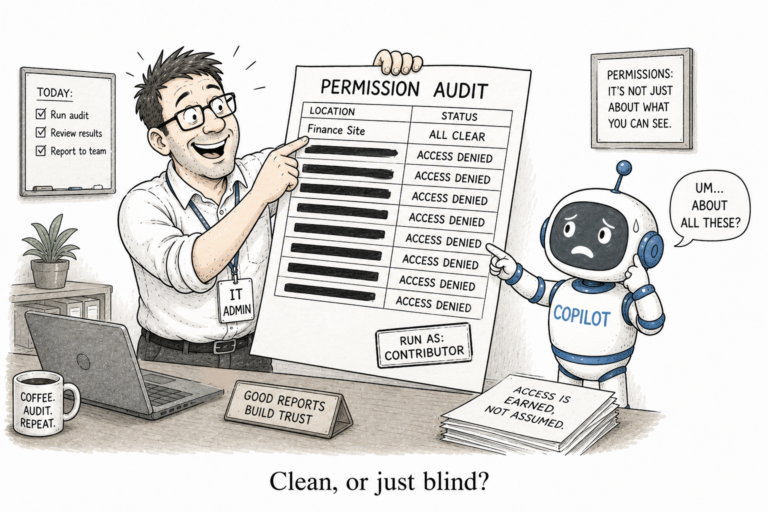
- Contributor is not enough. Reading permissions needs Full Control. A script running as a plain contributor will return confident, wrong answers because it simply cannot see the role assignments. For one site you need Site Owner or Site Collection Admin. For the whole tenant you need an app registration with Sites.FullControl.All, because being a tenant admin does not make you site admin everywhere.
- The scope in a sharing-link group name is a lie. A link shows up internally as a group called
SharingLinks.<guid>.Flexible.<id>, and that word “Flexible” tells you nothing about who the link reaches. OnlyGet-PnPFileSharingLinkgives you the real scope. The tool always asks it. - A sharing link is not a per-user grant. If you only ask “what can this user do on this file”, a link never shows up, no matter how deep you crawl, because the link grants a hidden group and not the person. So the tool answers a second, separate question on every shared item: does this link’s audience actually include the user? Anonymous and Organization links reach them; a Users link only if their name is on it.
What you need
- PowerShell 7.2 or newer.
- PnP.PowerShell 2.12 or newer (
Install-Module PnP.PowerShell). - An Entra app registration you can sign in with interactively. If you do not have one, the next step makes one. The GUI also has a “Register one for this tenant” link in the connect box that does the same thing.
- For the extras: User.ReadBasic.All so the people picker can search, and GroupMember.Read.All so it can confirm group membership instead of guessing.
Register the app
Skip this if you already have an app registration with SharePoint Full Control. If not, PnP will create one for you and walk you through consent in the browser:
Register-PnPEntraIDAppForInteractiveLogin `
-ApplicationName "User Access Explorer" `
-Tenant contoso.onmicrosoft.com `
-Interactive
It opens a sign-in window and asks you to grant consent. The one thing to get right is the consent: this tool reads permissions, so it needs Sites.FullControl.All, and for the people picker and membership checks it needs the Graph scopes User.ReadBasic.All and GroupMember.Read.All. Granting that consent needs a tenant admin, so if that is not you, send them the link the command prints.
When it finishes it prints the new Client ID. Copy it, you paste it into the tool in a moment.
Install it
git clone https://github.com/gvijaikumar9/UserAccessExplorer.git cd UserAccessExplorer Import-Module .\UserAccessExplorer.psd1
That gives you the PowerShell commands. For the app, run the GUI script:
pwsh -File .\gui\Show-UserAccessExplorer.ps1
Using the app
The connect box opens on launch. Paste your app’s Client ID and your tenant admin URL (the ...-admin.sharepoint.com one), sign in, and the chip at the top right turns green with your tenant name.
From there:
- Start typing a name or email in User. It searches after the second letter and drops the matches below, so you pick rather than type the whole thing.
- Choose a Scope. One site checks a single site. One site (deep) walks that site’s subsites, lists and items that have their own broken-inheritance permissions, which is where oversharing hides. Whole tenant sweeps every site, and it is slow, so it runs in the background with a progress count and a Stop button.
- Hit Scan.
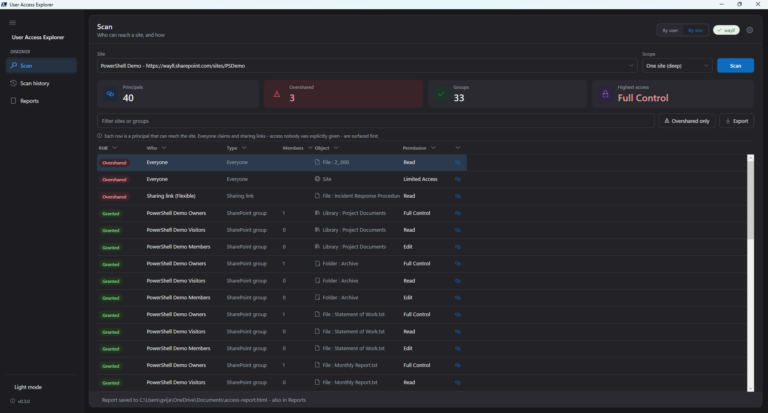
The four tiles across the top give you the shape of it at a glance: how many routes, how many are Overshared (the tile goes pink when that is above zero), how many sites, and the highest level of access the person holds anywhere. The grid underneath is one row per route, with a Grant path column reading like Everyone claim -> Read or Marketing Members -> Edit. Click any column header to sort, or use the chevron to group or filter. The small link icon in the Site column opens the exact page in SharePoint where that access is managed, so fixing it is one click away.
Comparing two people
Flip the Single user label to bring in a second user, and the scan runs both and diffs them. You get three buckets: Shared by both, Only the first person, and Only the second. This is the one I reach for when someone says “give the new starter the same access as her manager” and I want to see exactly where the two differ before copying anything.
Every finished scan is saved under Scan history, so you can reopen it instantly later without hitting SharePoint again, and there is an Export button that writes a self-contained HTML report you can forward.
Turn it around: who can reach a site
There is a mirror image of that question, and it matters just as much. Pick a site instead of a person, and see who can reach it, and how. Flip the By user / By site switch in the header and the subject becomes the site.
Now every row is a principal that can get in: a user, a SharePoint group, an Entra group, an Everyone claim or a sharing link, with the Overshared ones sorted to the top again. Groups carry a member count, so Marketing Members (2) and Marketing Members (340) are easy to tell apart. Run it deep and it walks the subsites, libraries and files that have their own permissions, so a document shared with Everyone three folders down gets its own row.
This is the view to run before you turn Copilot loose on a site. The question stops being whether one person can see something and becomes who can see it, how many of them there are, and whether anyone meant for them to.
To view scan history and reports
If you prefer the command line
The GUI is a shell over the module, so everything is scriptable. The one flag to remember is -OversharedOnly, which drops the noise and leaves you only the routes worth acting on:
Get-UserAccess -User jane@contoso.com `
-SiteUrl "https://contoso.sharepoint.com/sites/Marketing" `
-ClientId "<your-app-id>" -Interactive -OversharedOnly |
Export-UserAccessReport -Path .\jane-access.html -Html
Swap -SiteUrl for -TenantWide -TenantAdminUrl "https://contoso-admin.sharepoint.com" to sweep everything, or add -Deep -IncludeItems to go down to the file level on a single site.
The by-site side has its own command, Get-SiteAccess:
Get-SiteAccess -SiteUrl "https://contoso.sharepoint.com/sites/Marketing" `
-ClientId "<your-app-id>" -Interactive -Deep -OversharedOnly
Add -ExpandMembers and every group becomes one row per person, for the full list of who can actually reach the site.
It pairs well with the sharing-link work in my PnP PowerShell posts. If you run it and something looks off, open an issue on the repo.