In this example, I am going to show you how to insert items into SharePoint custom list using AngularJs
I want to make this post very short and simple, the code snippet you will see in the article will be very minimal, only related to insert items into custom list using Angular.
In one of my previous article I had show how to insert items into custom list using server object model, you may visit the link if you need the code snippet using server object model.
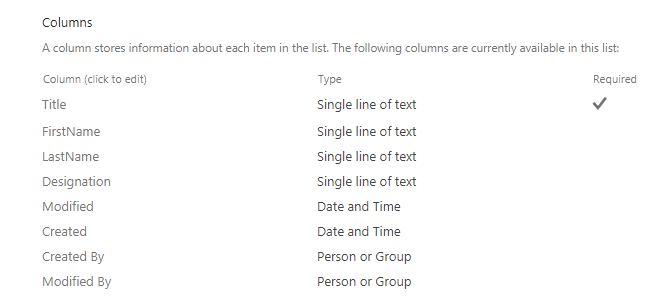
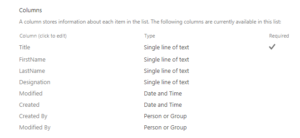
Primarily, I have a simple custom list naming Employees with columns…
Title [Single line of text]
FirstName [Single line of text]
LastName [Single line of text]
Designation [Single line of text]
Employee List
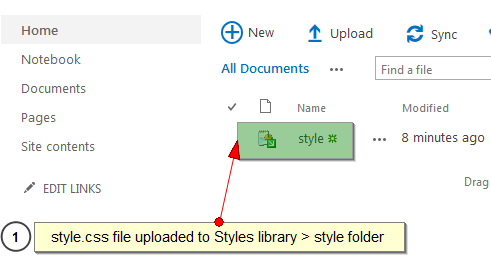
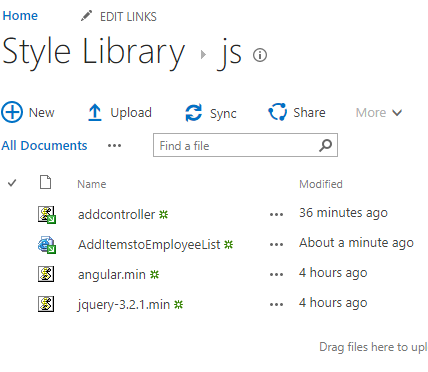
Then I added the script files in js folder of Style library (you may create one js folder inside Style Library)
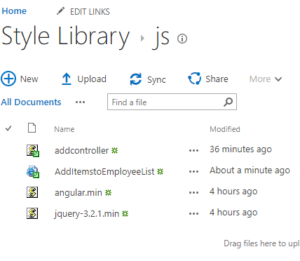
Style Library – Script files
You may download the Jquery and AngularJs directly from the website (I’m using Jquery 3.2.1 and Angular 1.5.6)
Also, you can see the addcontroller.js and AddItemstoEmployeeList.html file in the above style library. The code snippet for the files is below
addcontroller.js
[sourcecode language=”javascript”]
var myApp = angular
.module("SharePointApp", [])
.controller("addcontroller", function ($scope, $http) {
var restUrl = _spPageContextInfo.webAbsoluteUrl + "/_api/web/lists/getByTitle(‘Employees’)/items";
var field = $scope;
field.insertEmployee = function () {
return $http({
headers: { "Accept": "application/json; odata=verbose", "X-RequestDigest": jQuery("#__REQUESTDIGEST").val() },
method: "POST",
url: restUrl,
data: {
‘Title’:field.Title,
‘FirstName’: field.FirstName,
‘LastName’:field.LastName,
‘Designation’: field.Designation
}
})
.then(insertItem)
.catch(function (message) {
console.log("insertEmployee() error: " + message);
});
function insertItem(data, status, headers, config) {
alert("New Employee Record Inserted!");
return data.data.d;
}
}
});
[/sourcecode]
AddItemstoEmployeeList.html
[sourcecode language=”html”]
<!DOCTYPE html>
<html lang="en" xmlns="http://www.w3.org/1999/xhtml">
<head>
<meta charset="utf-8" />
<title></title>
<script type="text/javascript" src="/Style%20Library/js/jquery-3.2.1.min.js"></script>
<script type="text/javascript" src="/Style%20Library/js/angular.min.js"></script>
<script type="text/javascript" src="/Style%20Library/js/addcontroller.js"></script>
<style>
.style1{
width:200px;
}
</style>
</head>
<body ng-app="SharePointApp" ng-controller="addcontroller">
<h3><strong>Add Items To Employee List</strong></h3>
<Table >
<tr>
<td class="style1">Title: </td>
<td>
<input type="text" id="title" ng-model="Title" />
</td>
</tr>
<tr>
<td class="style1">First Name: </td>
<td> <input type="text" id="firstName" ng-model="FirstName" /></td>
</tr>
<tr>
<td class="style1">Last Name: </td>
<td> <input type="text" id="lastName" ng-model="LastName" /></td>
</tr>
<tr>
<td class="style1">Designation: </td>
<td> <input type="text" id="designation" ng-model="Designation" /></td>
</tr>
<tr>
<td class="style1"> </td>
<td><input type="button" id="btnInsertEmployee" value="Submit" ng-click="insertEmployee()" /></td>
</tr>
</table>
</div>
</body>
</html>
[/sourcecode]
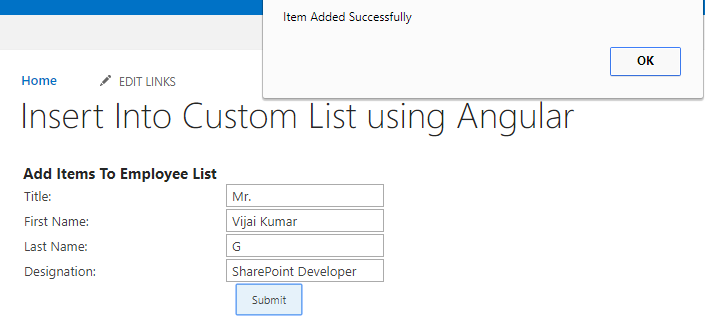
Copy the code snippets controller.js and AddItemstoEmployeeList.html and upload both to style library, refer the html in a content editor webpart on SharePoint page. you will see the output as below

Insert into custom list using Angular